Good Day Crafty Friends,
Welcome to the Artisan Design Team Blog Hop for August. This month we are showcasing the super stunning Shimmer Detailed Laser-Cut Specialty Paper (#149611). You can find this gorgeous pack of Paper on Page 169 of the 2019-2020 Annual Catalogue.
There are 6 sheets to the pack, 3 each of 2 designs. One design is a full 12" x 12" sheet and the other design has multiple "panels" or frames. One side of the Paper is Vanilla and shows the shimmer really well, the other side is White and is easy to colour.
The first three cards I have to share with you today use two designs of the larger "cut frames". I have used them to provide a bit of interest and texture over the sponged backgrounds. Easy and simple to use, all three were adhered using Tombow and a sponge, dabbing the glue lightly.
All three cards use the Orchid image from Rare Blessings (#149241) along with the "Just For You" greeting, which has been white heat embossed onto Black cardstock, fussy cut and adhered with Foam Adhesive Strips.
The first card in this collection has a Blushing Bride card base, Shimmery White card that has been sponged in Flirty Flamingo ink and flicked with a Lovely Lipstick Stampin' Blend. The Gold Foil Frame was created with the Stitched Rectangle Dies and was adhered with Foam Adhesive Strips for extra height. The Orchid image has been stamped in Memento Tuxedo Black ink and then heat embossed with clear embossing powder.
I have used a different panel of the Detailed Laser Cut Paper for this Highland Heather creation. After sponging a piece of Shimmery White card with Highland Heather ink, I used Stampin' Blends in the same colour to apply the flicks of ink. To the centre of the card front, a Sahara Sand panel has been embossed with the Subtle 3D embossing folder, adhered to a shimmery white layer of card and then to the card front. The stamped image was coloured using Granny Apple Green, Highland Heather and So Saffron inks with an Aqua Painter.
The final card in this collection has the same layout as the first card I shared, replacing the Gold Foil Frame with a Gold Glimmer Circle and changing the colour of the stamped Orchid.
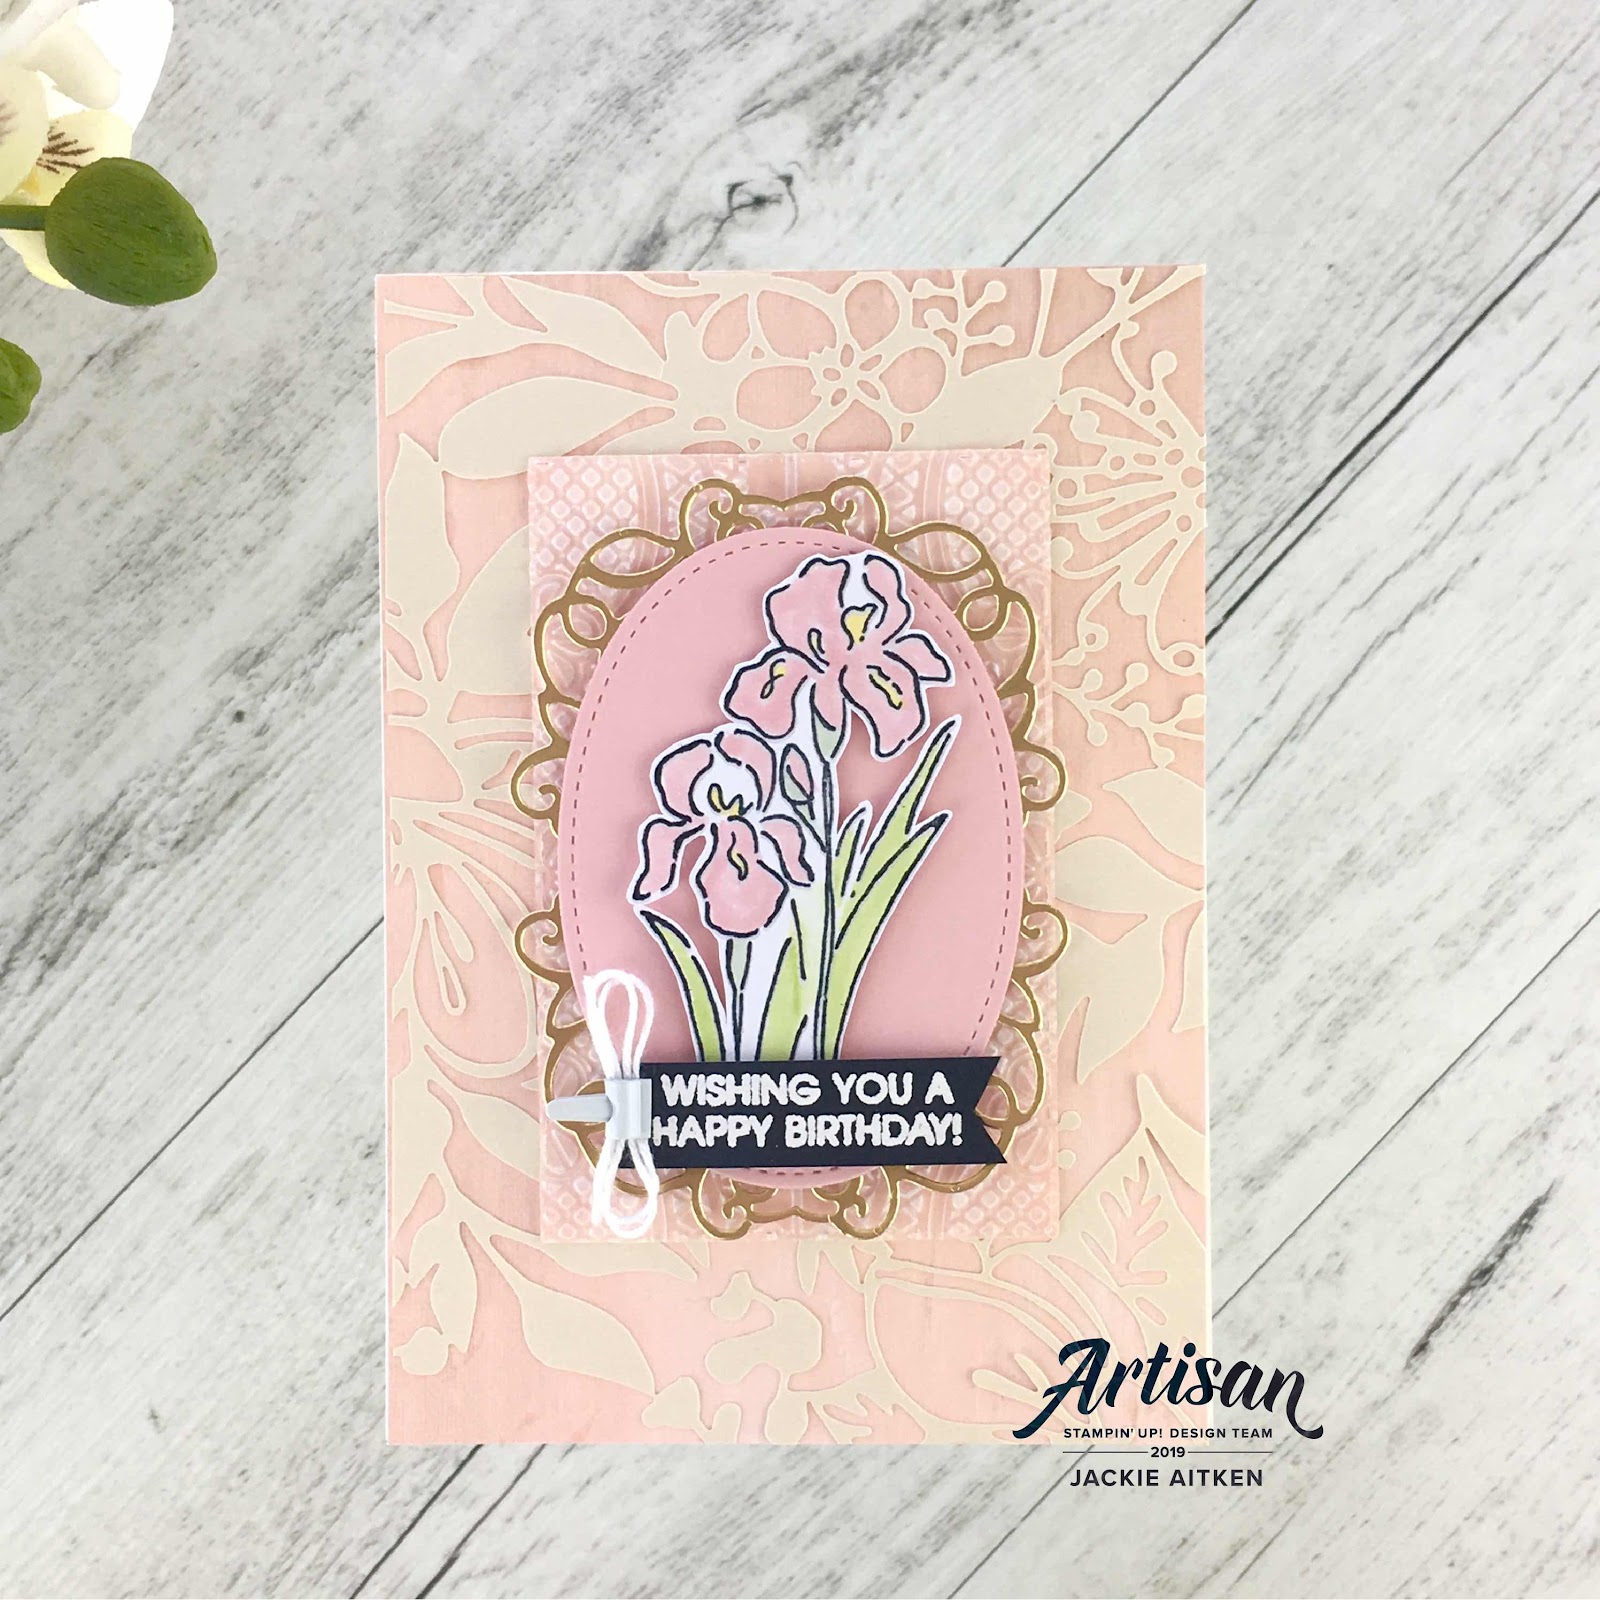
Below are another four samples showing how I used the different sized panels of DSP. The first fits an Australian card front perfectly and was used to frame this field of Iris's. The stamped images from Inspiring Iris (#149268) were coloured using Stampin' Blends. The greeting "It's Your Time To Bloom", from the Rare Blessings Stamp Set, has been white heat embossed on Vellum and tucked into the side of the Laser Cut DSP Frame.
For the next card I used two of the smaller square panels of Laser Cut Paper and joined them together, disguising majority of the join with the Stitched Nested Labels die cut and water coloured leaves.
Using one of the larger panels, I removed the border and adhered the shimmery side to a Blushing Bride Card Front. An embossed panel of Vellum is next with Gold Foil details created using the Band Together Dies. The floral image from Inspiring Iris has been stamped in Black ink and clear heat embossed. The greeting from Band Together stamp set has been white heat embossed onto Black card. A little white Bakers Twine and a White Mini Library Clip were also added.
And finally, a mix of one of the smaller Detailed Laser Cut Paper panels which has been coloured with Granny Apple Green ink and tucked behind the Whisper White die card card front. I have combined this circular designed panel with water coloured pieces that have been cut from the large 12"x 12" sheet. The floral image is from the Beautiful Friendship Stamp Set (#149252).
That is all from me today. Up next in this months Artisan Design Team Blog Hop is Jennifer Picard with her stunningly gorgeous creations. Enjoy xx
2019 Artisan Design Team Blog Roll
Jackie Aitken < that's me >
Tanya Rees
You can shop for all the products used to create the projects in today's post by clicking on the images below. Happy Shopping
Product List
Until next time, stay awesome and stay crafty