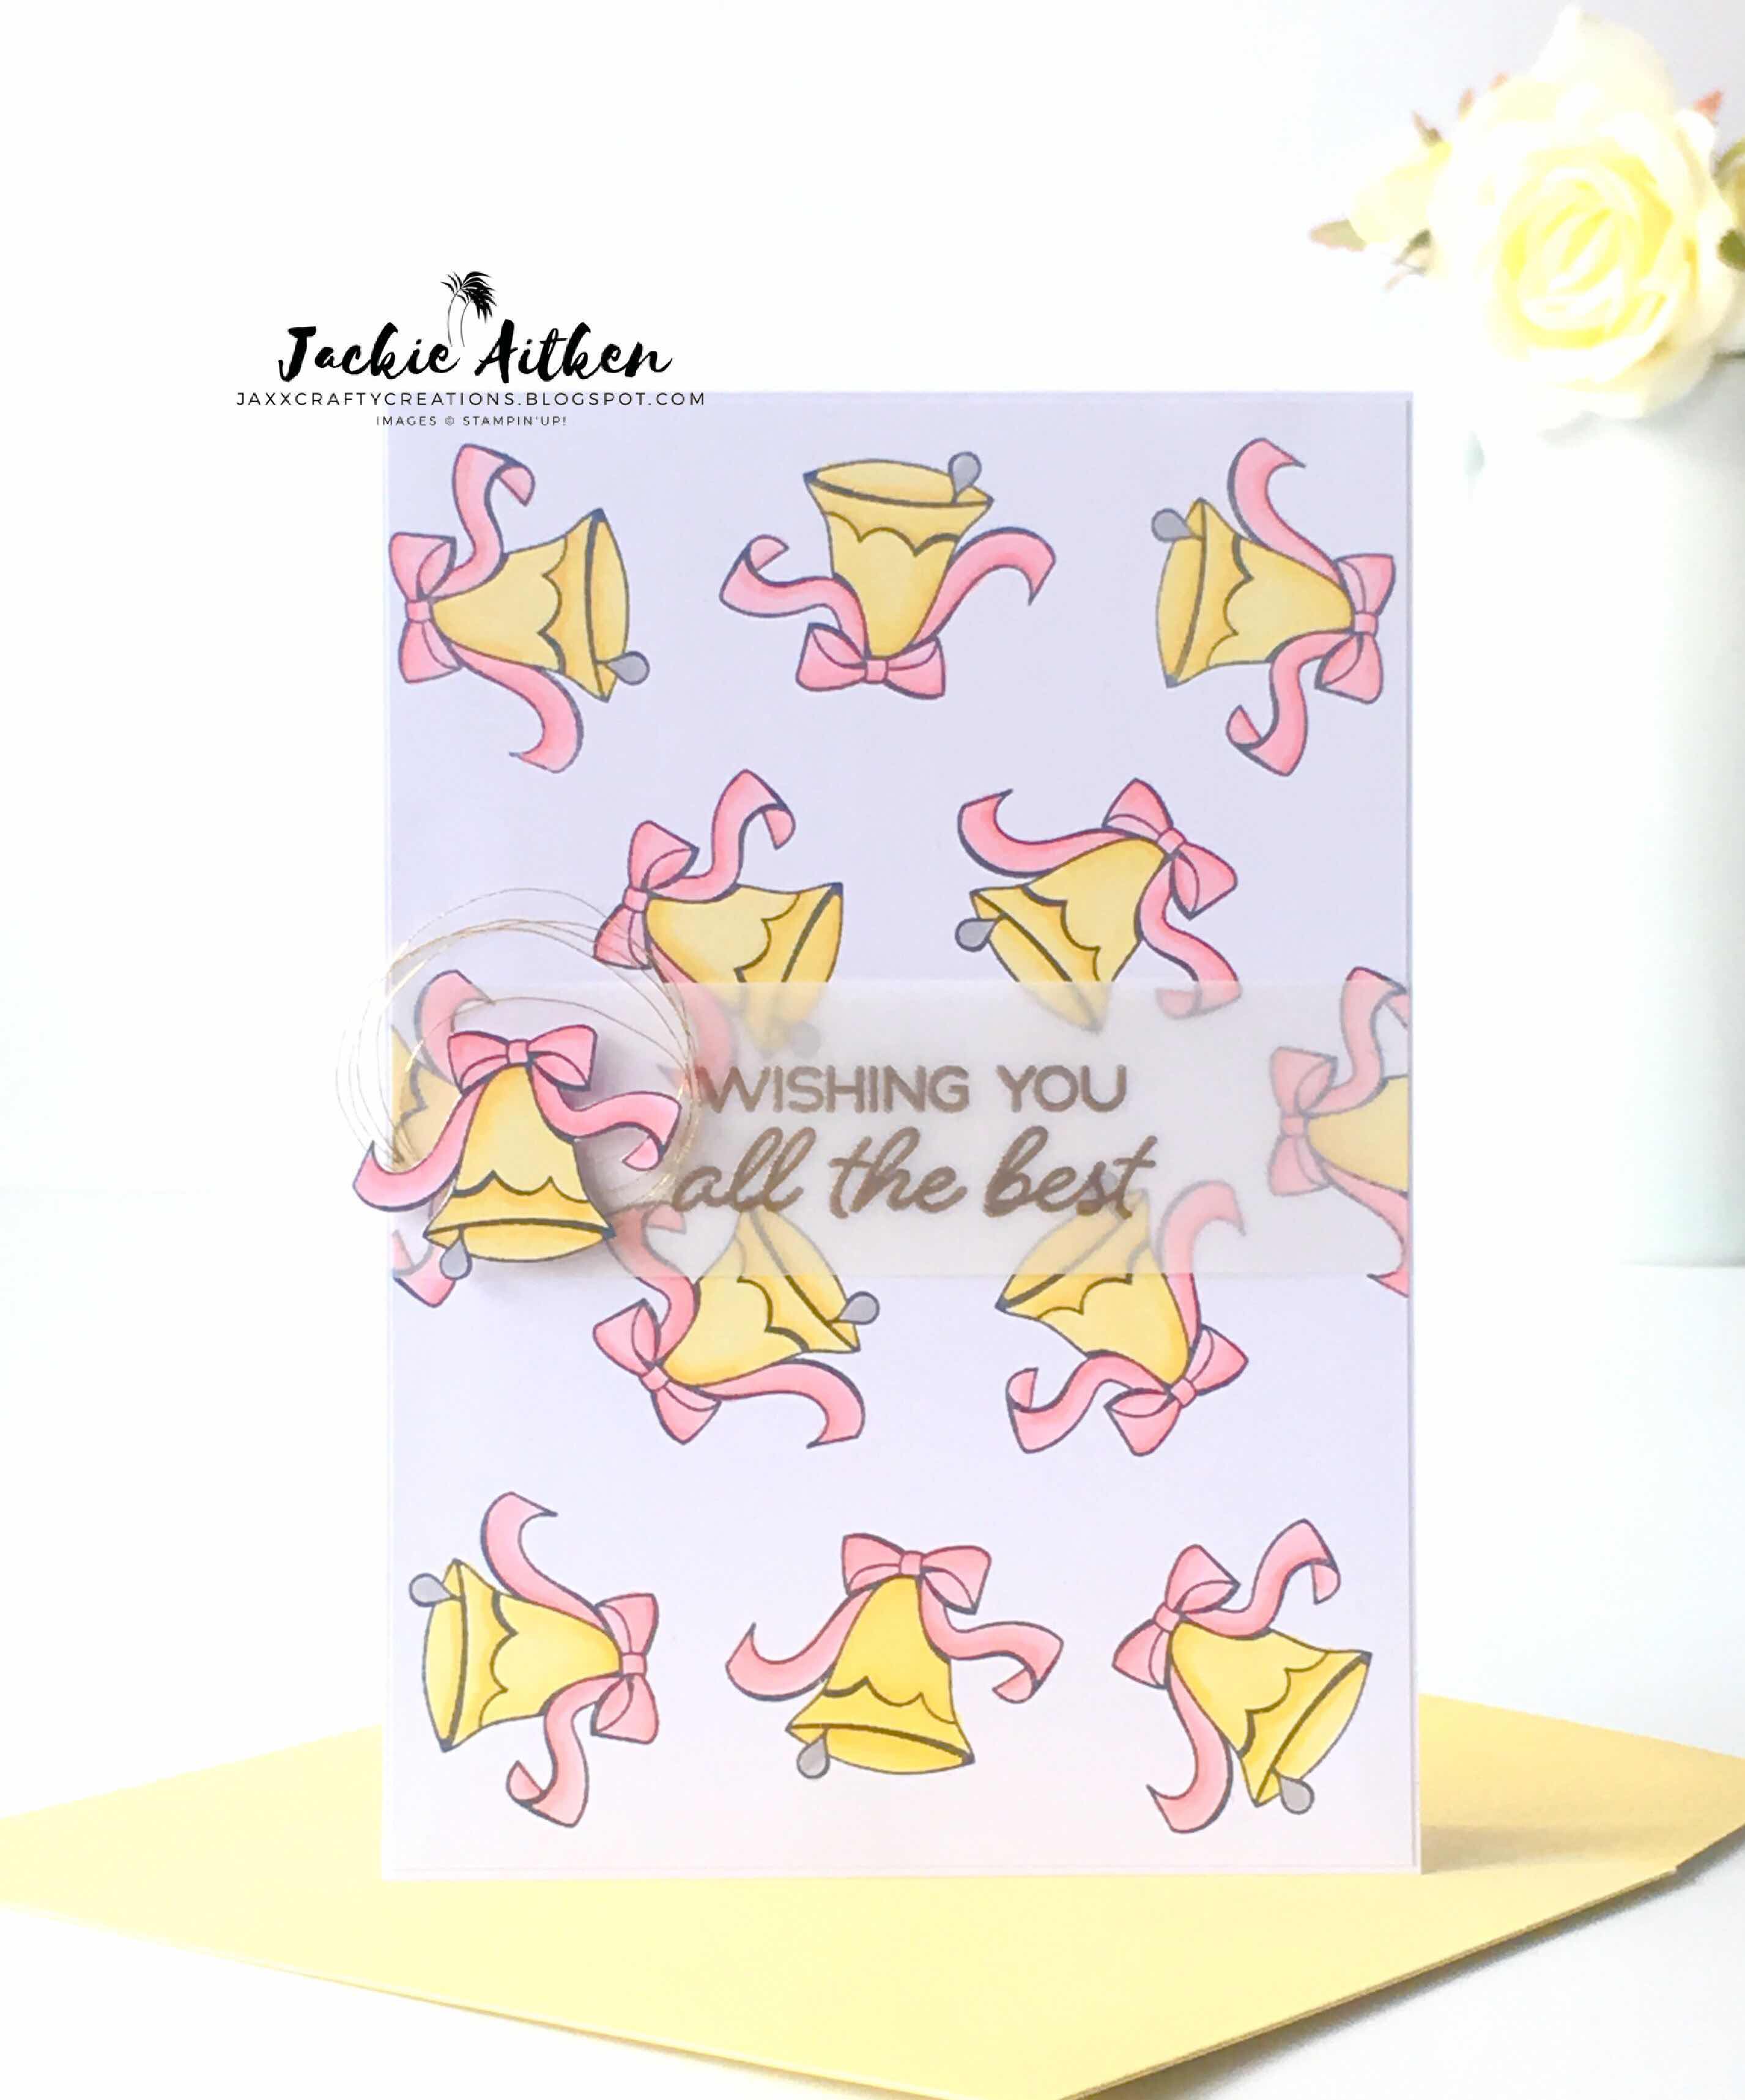
Good Day Crafty Friends,
Welcome to this months AddINKtive Design Team Projects. As a Design Team member, I have the priviledge of using any of the wonderful tutorials that are available to purchase from the AddINKtive Designs Store - including my own lol.
Our talented and supportive leader - Bronwyn Eastley created the most stunning camera card recently. I knew as soon as I saw it that this would make the perfect card for my sister, Michelle, who happens to be a qualified photographer.
You can find the tutorial for the Camera Box Card with slider here. I have omitted the Happy Birthday insert from the original design as this is being posted to New Zealand and thought it safer to have a fold out album attached to the back of the card.

The film negative strip is from a retired Stampin' Up! stamp set but the tutorial offers alternative suggestions if you do not have this set in your collection.

The base of the Camera Card is easily constructed with the Tutorial instructions and an Envelope Punch Board. The exterior of the card is Black and Silver Foil cardstock with a few rhinestone embellishments mimicking buttons.

I masked each individual panel of the negative strip and stamped images from various stamp sets - High Tide, Mediterranean Moments, Water Front and Animal Outing. Some panels were sponged and stamped, other were stamped and coloured using Stampin' Blends.

The back of the card holds the fold out. I made it a fairly sizeable space to allow loads of room for writing messages from the whole family. The top portion of the fold out was partially die cut with the Stitched Season Framelits as I wanted some of the white card underneath to be showing.

I have decorated the fold out using the Tropical Chic stamp and coordinating dies along with a Gold Glitter "M".
The inside panels have been die cut using the "x" stitched thinlit from Stitched Labels - randomly cutting lines over all three panels.
The Birthday cake image from Cake Soiree has been Gold Heat Embossed and watercoloured in the same purple/pink tones as the front of the fold out. Gold Foil card has used for the cake stand and bow, with a white heat embossed sentiment for the sentiment. A couple of little stitched hearts were added to the bottom with mini dimensionals.

The second card uses my Pocket Card Tutorial for the base, which you can find here.

I have kept this one pretty simple using soft subtle colours and a water coloured front. The Subtle embossing folder has been used to create the background from Soft Sea Foam cardstock. The large image from Floral Frames stamp has been white heat embossed, water coloured and then die cut with the large Stitched frame from the limited edition Stitched Seasons Framelits.

The Chase Your Dream Thinlits were used to die cut the 'die catcher' circle and vellum feathers. The inside has a Soft Sea Foam die cut (created using the Stitched Season Framelits) along with the pull tab (created using the Circle Tab Punch) also from Soft Sea Foam with a Gold Foil stitched heart added to the tab.
That's all from me today folks. I am knee deep in the middle of a massive project and had better start cleaning up what is normally a perfectly clean craft room so that I am somewhat productive this afternoon (I cant work in mess) so until next time, stay awesome, stay organised and stay crafty.