SOCIAL MEDIA

Sunday, 13 October 2019

Stamping Sunday Blog Hop - Snowfall Accents Puff Paint

Hello Crafty Friends
No photo description available.

Welcome to Stamping Sunday Blog Hop for October. This month the Stamping Sunday Design Team are showcasing another new product from the Holiday Catalogue - The Snowfall Accents Puff Paint.

Omg this item is so much fun to play with. Add texture or 3D effects by applying the paint to your projects and then using a Heat Tool, watch the magic happen as the paint puffs up. Perfect for snowy scenes especially those with snowmen!

I love non traditional Christmas colours for my festive season creations, and decided today's projects I would use a colour combination of Highland Heather and Gorgeous Grape. I have also used items from Holly Jolly Christmas Bundle, Snow Globe Scene Dies along with sentiments from Tidings All Around and Snowman Season stamp sets.


I have three creations to share with you today, one for each level crafter. I prefer to not do the whole "step up the same card', instead opting to use the same elements, stamp set or colour scheme in all three creations.

For crafters who are just starting their stamping/papercraft experience, a gift tag is perfect as its small and not as daunting as a full card front.
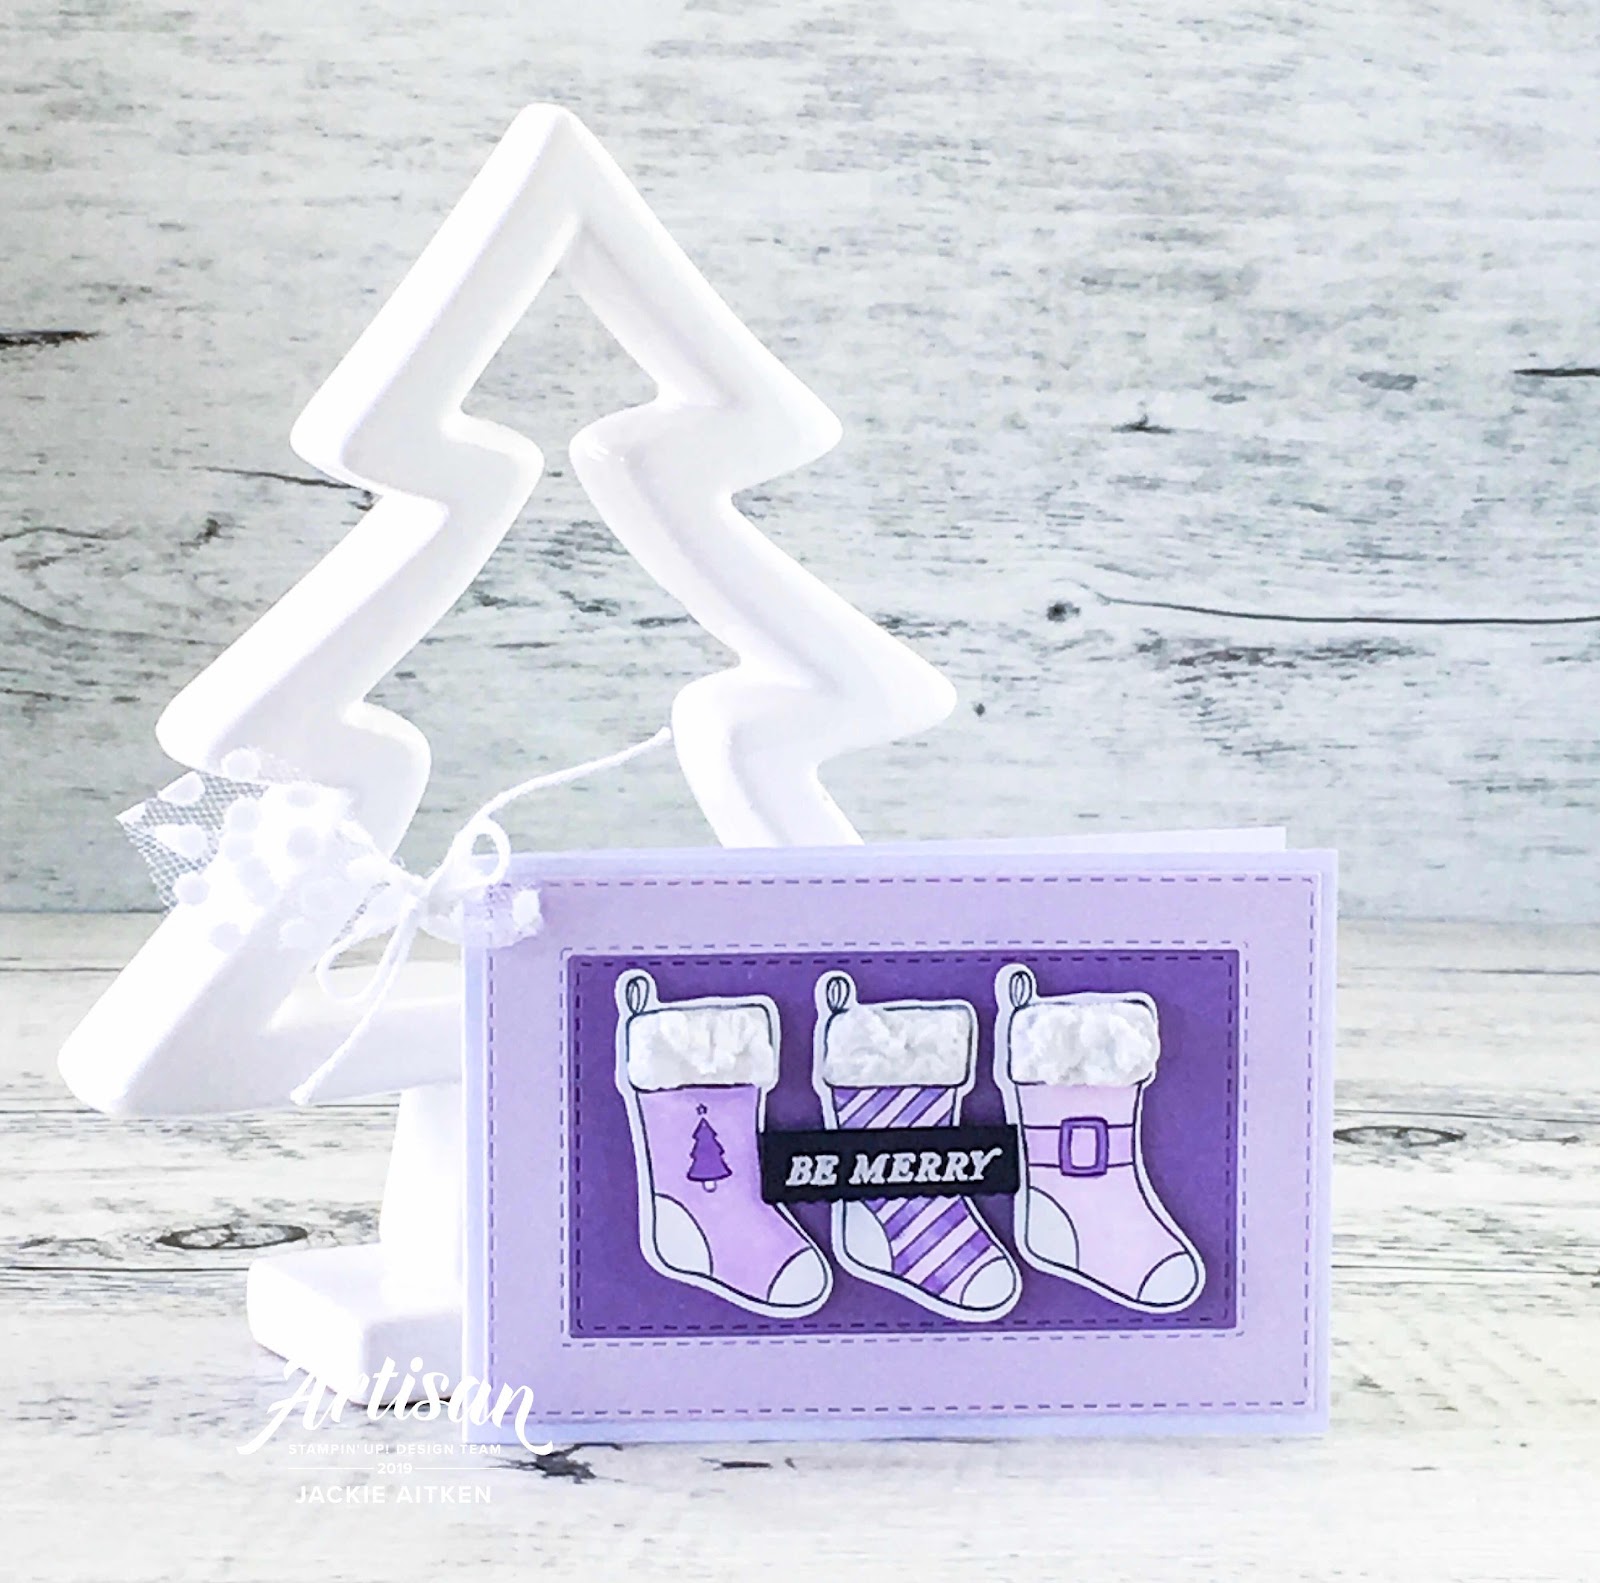

The Snowfall Accents Puff Paint is reasonably easy to use, with a steady hand and a heat tool the die cut Stockings have a new lease on life. Using the Paint around the "tops" of stocking to mimic a fluffy cuff.
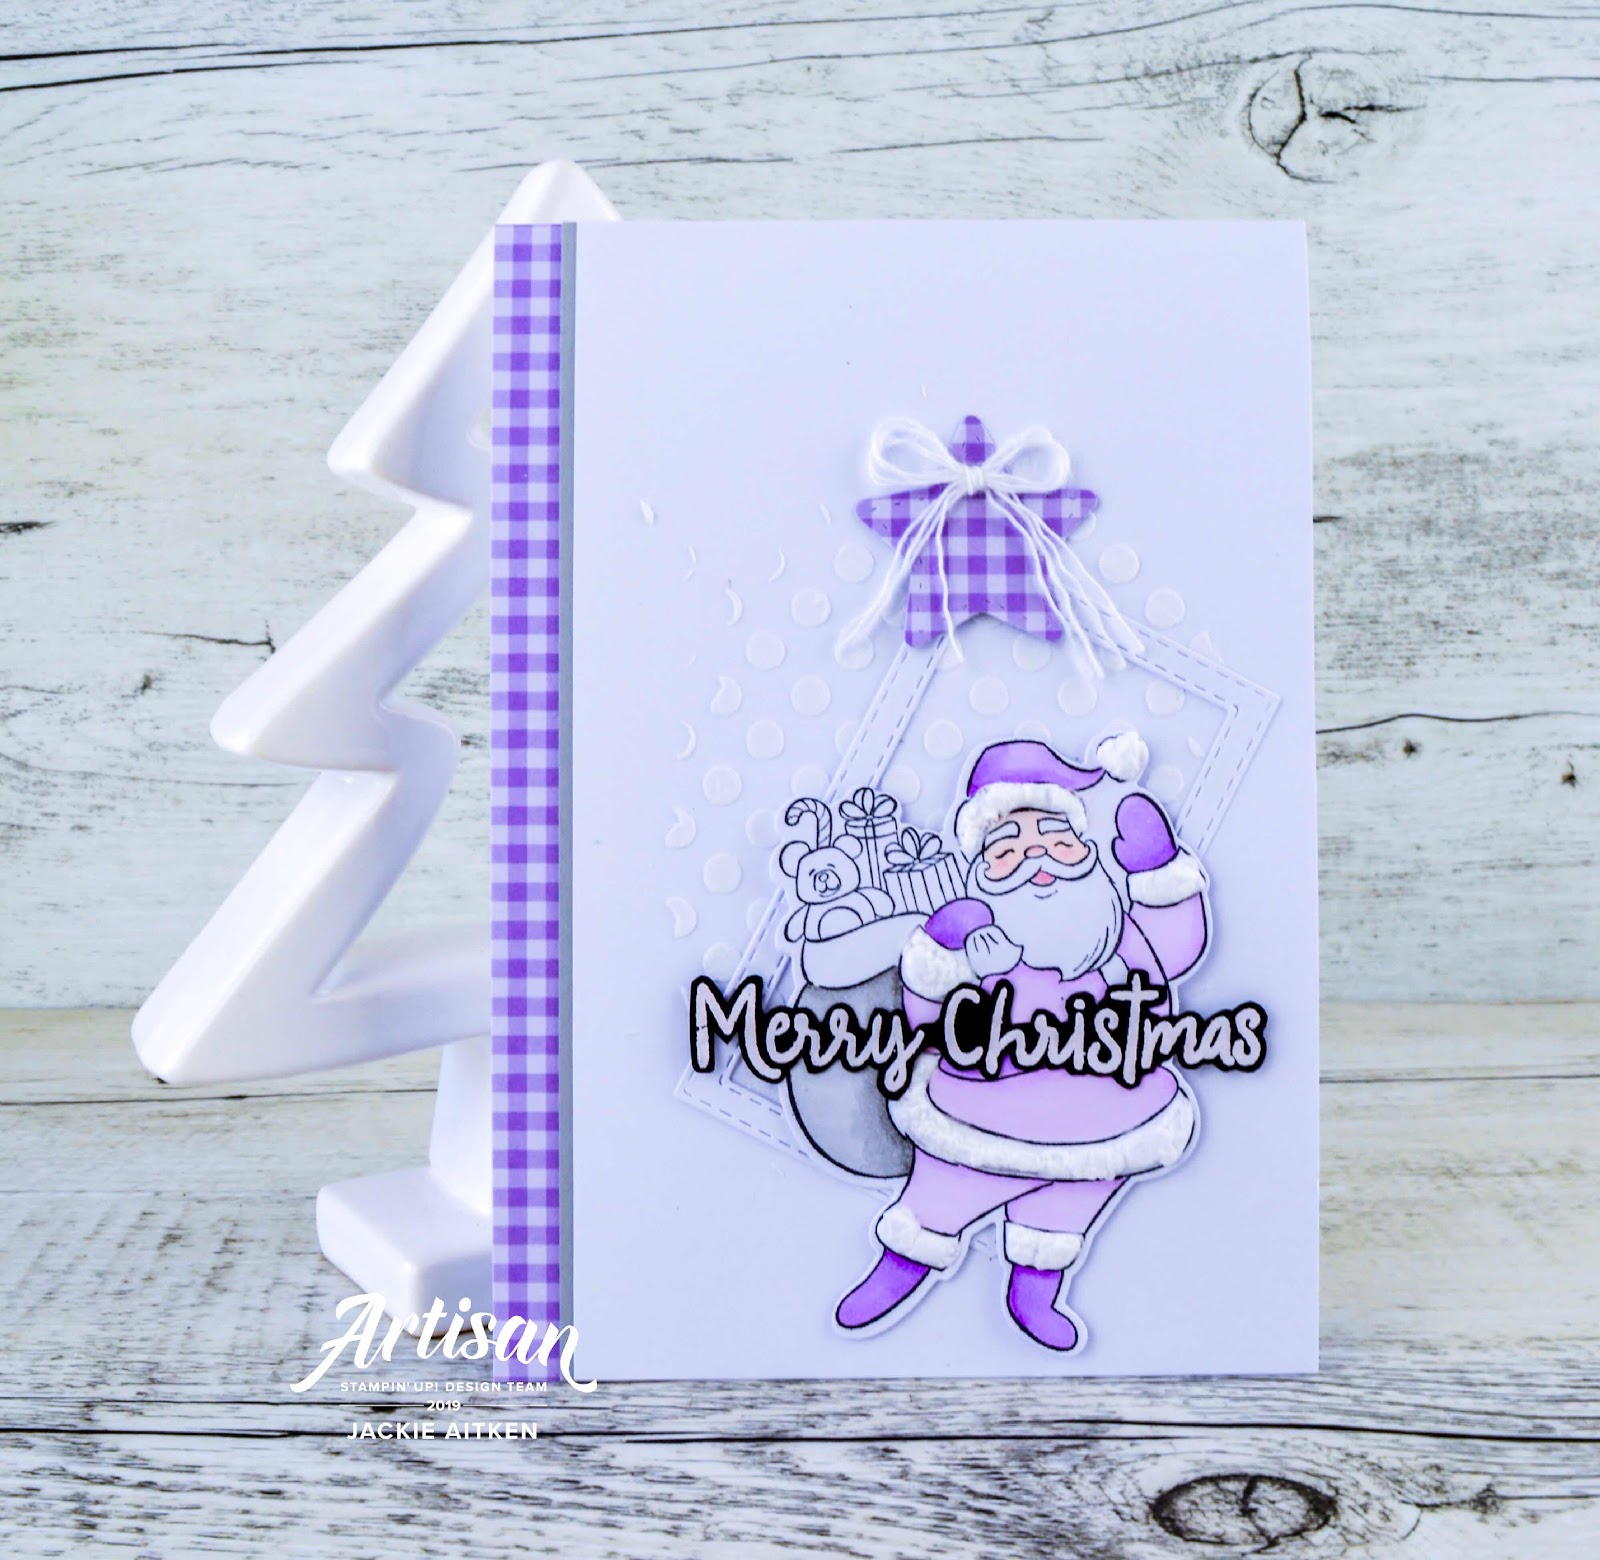

Casual crafters will enjoy the variety of features in this card as it uses a few different techniques and products - embossing paste, stamping, colouring with Stampin' Blends, die cutting, heat embossing and fussy cutting. Puff Paint has been added to Santa's hat, cuffs and waistband.
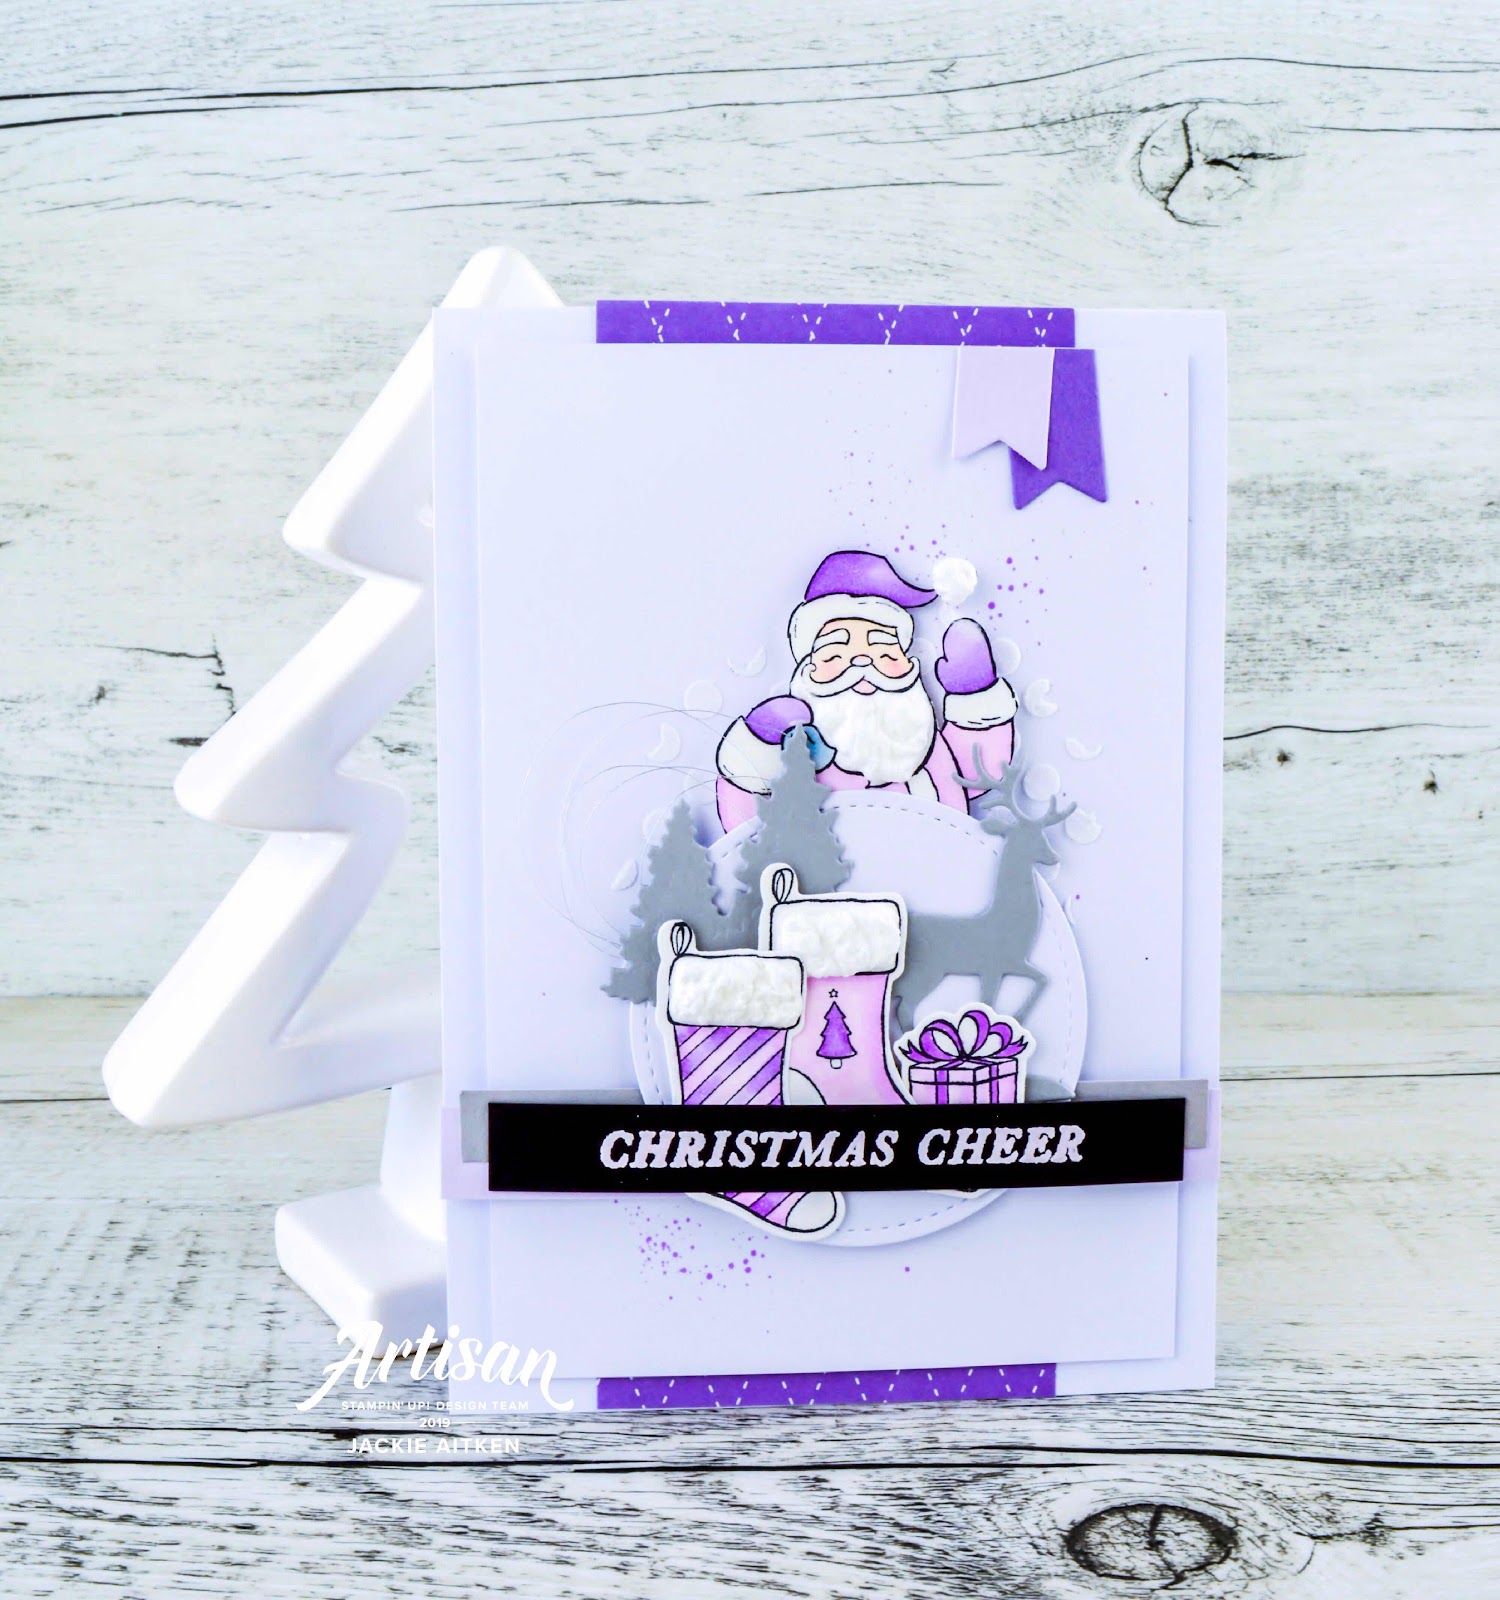

For the Avid crafter this card I added more die cut and stamped elements. The card front has embossing paste, ink splatters, more coloured and fussy cut images, metallic twine and Puff Paint on the Stockings Santa's hat and cuffs.

That is all for me today. Be sure to keep hopping for more inspirational and creative ideas and projects using the Snowfall Accents Puff Paint. Up next is my friend and fellow Artisan, Manuela Geiswinkler with her amazingly gorgeous 'puffy' projects. Enjoy x

Blog Hop Participant List


Sunday, 12 May 2019

Stamping Sunday Blog Hop - Favourite Retiring

Good Day Crafty Friends,


Welcome to the Stamping Sunday Blog Hop for May. This talented group of Designers hop once a month on the second Sunday. This month we are celebrating our FAVOURITE RETIRING items with a farewell Hop.

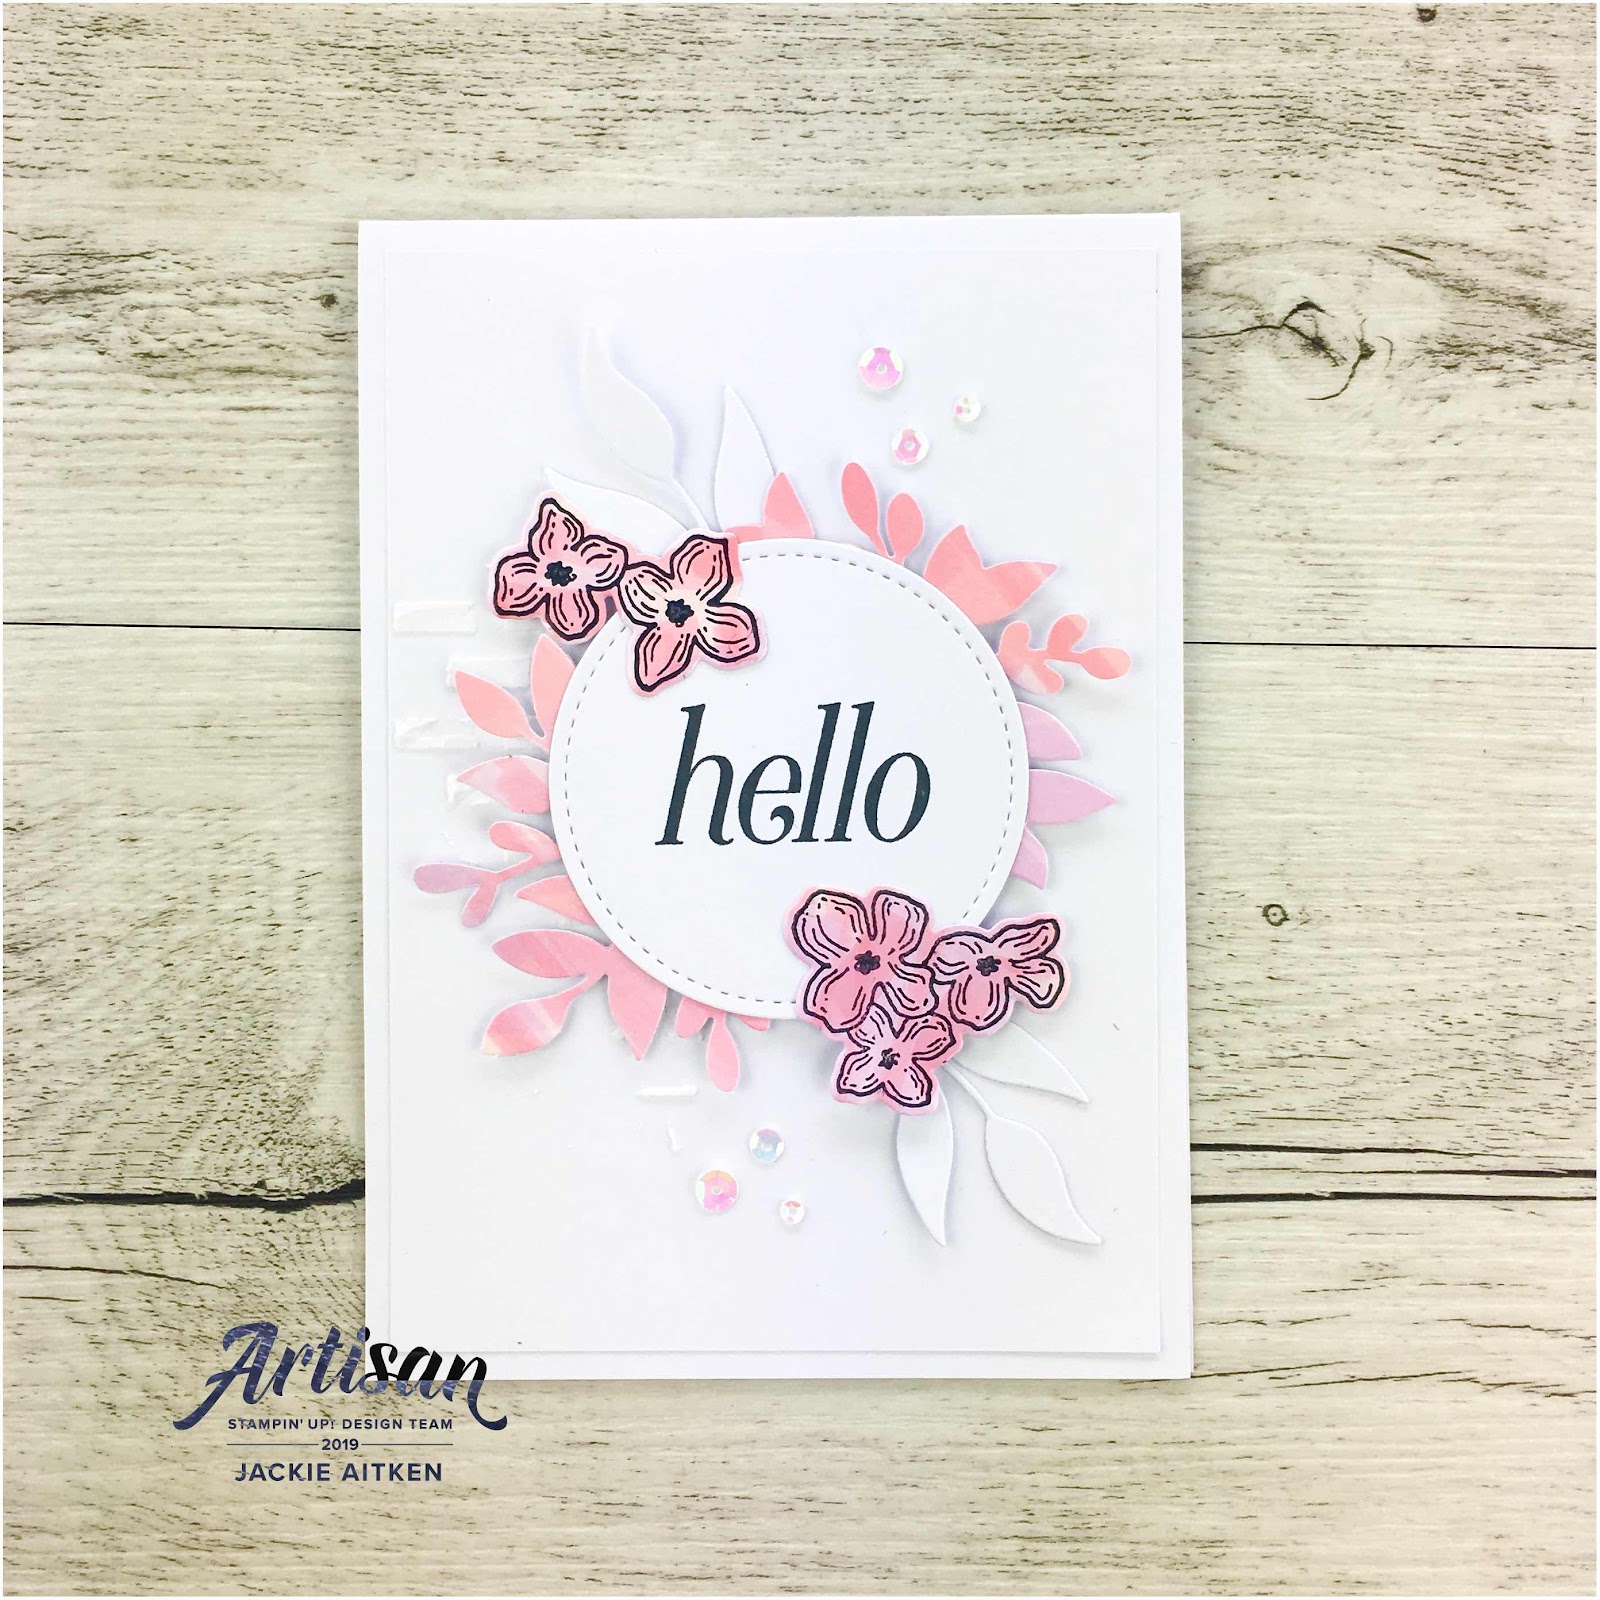
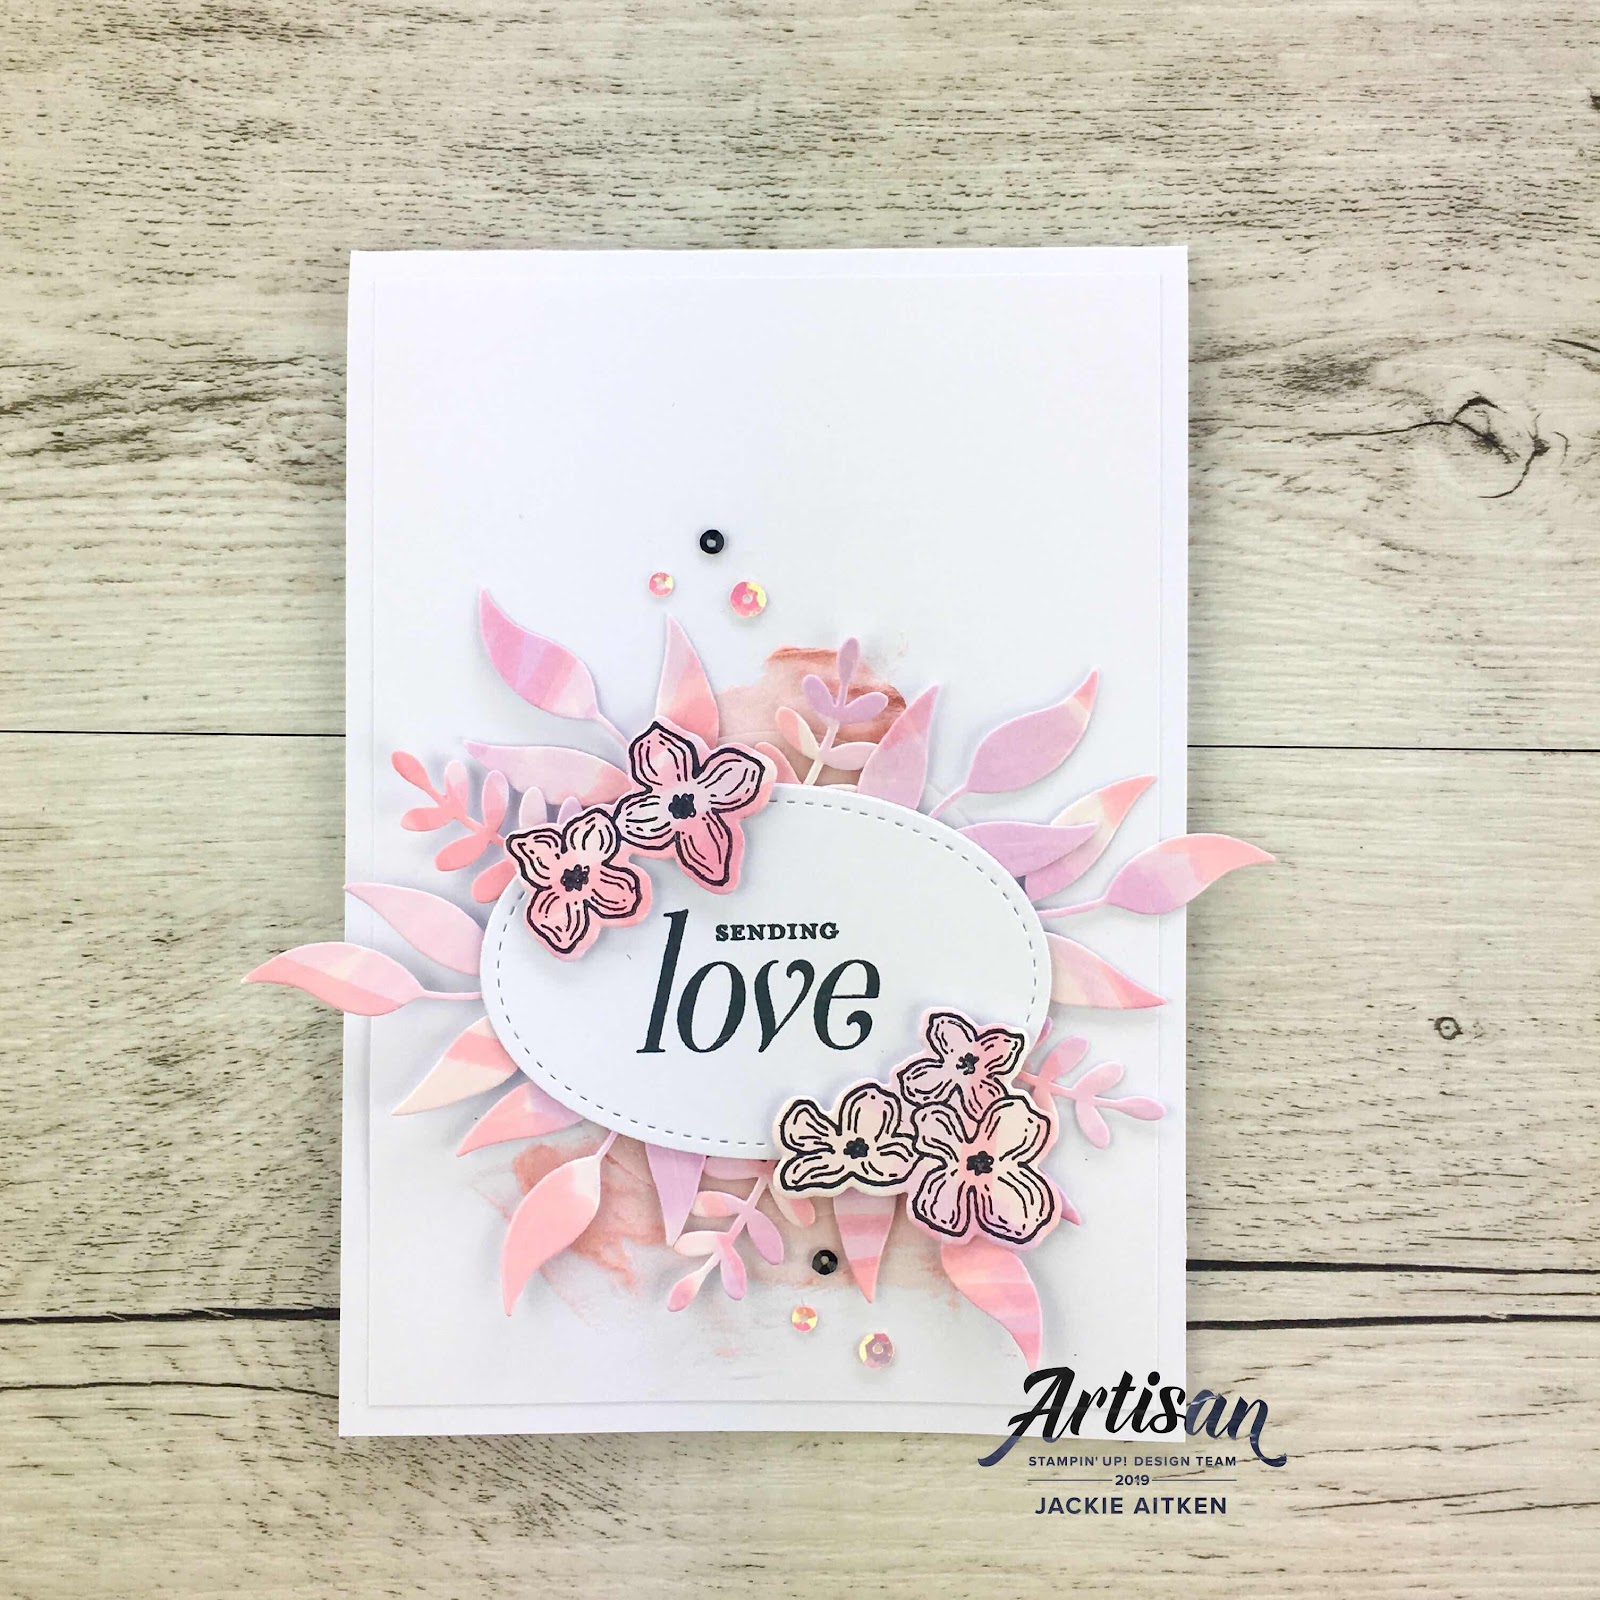
Its always a sad of time of year in the Stampin' Up! world, as we wave goodbye to favourite in colours, stamp sets and DSP. This year saw a lot of my favourites get the chop which made it hard to chose just one. I decided the bundle I would miss the most is Floral Frames. I adore the fonts, the framed die cut but most of all, I just love the foliage framelits.

I love to create my own backgrounds using fun techniques like Polished Stone. I will miss the Glossy Paper immensely so decided to incorporate it in today's creations.

This post is dedicated to the coolest bundle of 2019 - R.I.P. Floral Frames - may you rest well on my bookshelf.

jaxxcraftycreations, handmade cards, Floral Frames, Glossy Card, Stampin' Up!, Embossing Paste, Stampin' Blends, Stamping Sunday Blog Hop, Stamping Techniques,

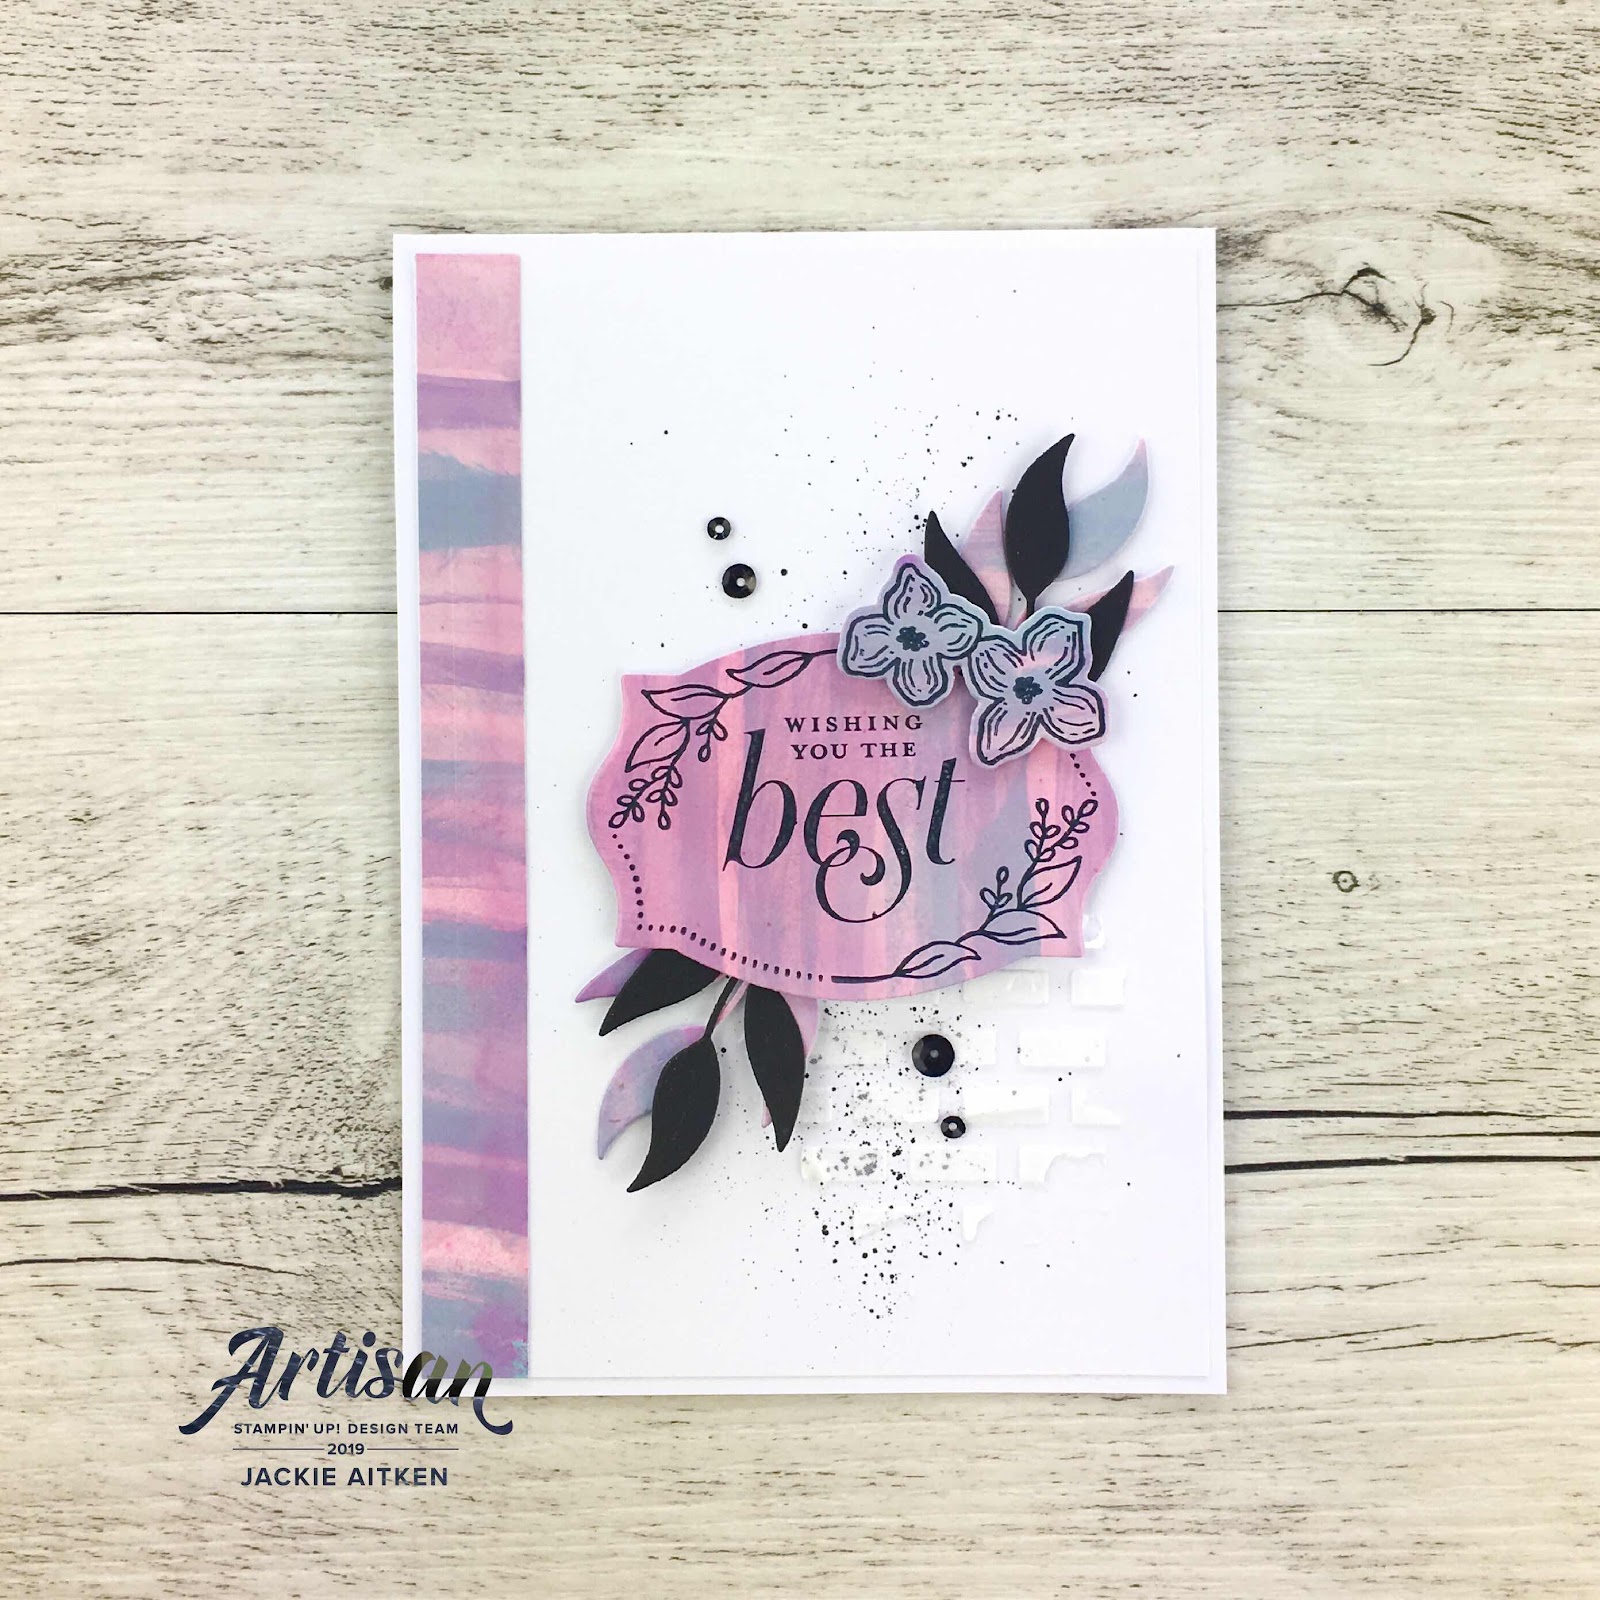
I made two sets of cards using two different sheets of Glossy Paper. The first sheet had Stampin' Blends literally scribbled all over the paper in pink tones. The second sheet was a little more dramatic, using the wood grain technique by swiping the ink pads across the Glossy Paper with blue and purple tones. To blend the colours I spritzed with rubbing alcohol which had a few drops of Blushing Bride reinker added.

jaxxcraftycreations, handmade cards, Floral Frames, Glossy Card, Stampin' Up!, Embossing Paste, Stampin' Blends, Stamping Sunday Blog Hop, Stamping Techniques,

For these two pinky toned creations, I have started with an embossed card front using a Brick wall stencil (item #144103) and embossing paste (item #141979). The Stitched Shapes (item #145372)  framelits were used to die cut the sentiments from the Floral Frames Stamp Set. The floral images were stamped on the same sheet of Glossy Paper the die cuts are made from, die cut and added to the card with mini dimenionals (item #144108).

jaxxcraftycreations, handmade cards, Floral Frames, Glossy Card, Stampin' Up!, Embossing Paste, Stampin' Blends, Stamping Sunday Blog Hop, Stamping Techniques,

The next set of projects have utilised the second sheet of Glossy Cardstock with the blue and purple tones. I have kept the stamping simple with black ink directly on top of the Glossy card.
jaxxcraftycreations, handmade cards, Floral Frames, Glossy Card, Stampin' Up!, Embossing Paste, Stampin' Blends, Stamping Sunday Blog Hop, Stamping Techniques,

A few black elements have been such a ribbon, die cuts, ink splatters and sequins as it really pops against the purpley-blue tones and ties in nicely with the plain black stamped images and sentiments.

jaxxcraftycreations, handmade cards, Floral Frames, Glossy Card, Stampin' Up!, Embossing Paste, Stampin' Blends, Stamping Sunday Blog Hop, Stamping Techniques,


The panel on the left hand side of this card shows what the glossy sheet looked like before I stamped and die cut it. As you can see, it doesn't have to be perfect, especially when using for die cuts.

jaxxcraftycreations, handmade cards, Floral Frames, Glossy Card, Stampin' Up!, Embossing Paste, Stampin' Blends, Stamping Sunday Blog Hop, Stamping Techniques,

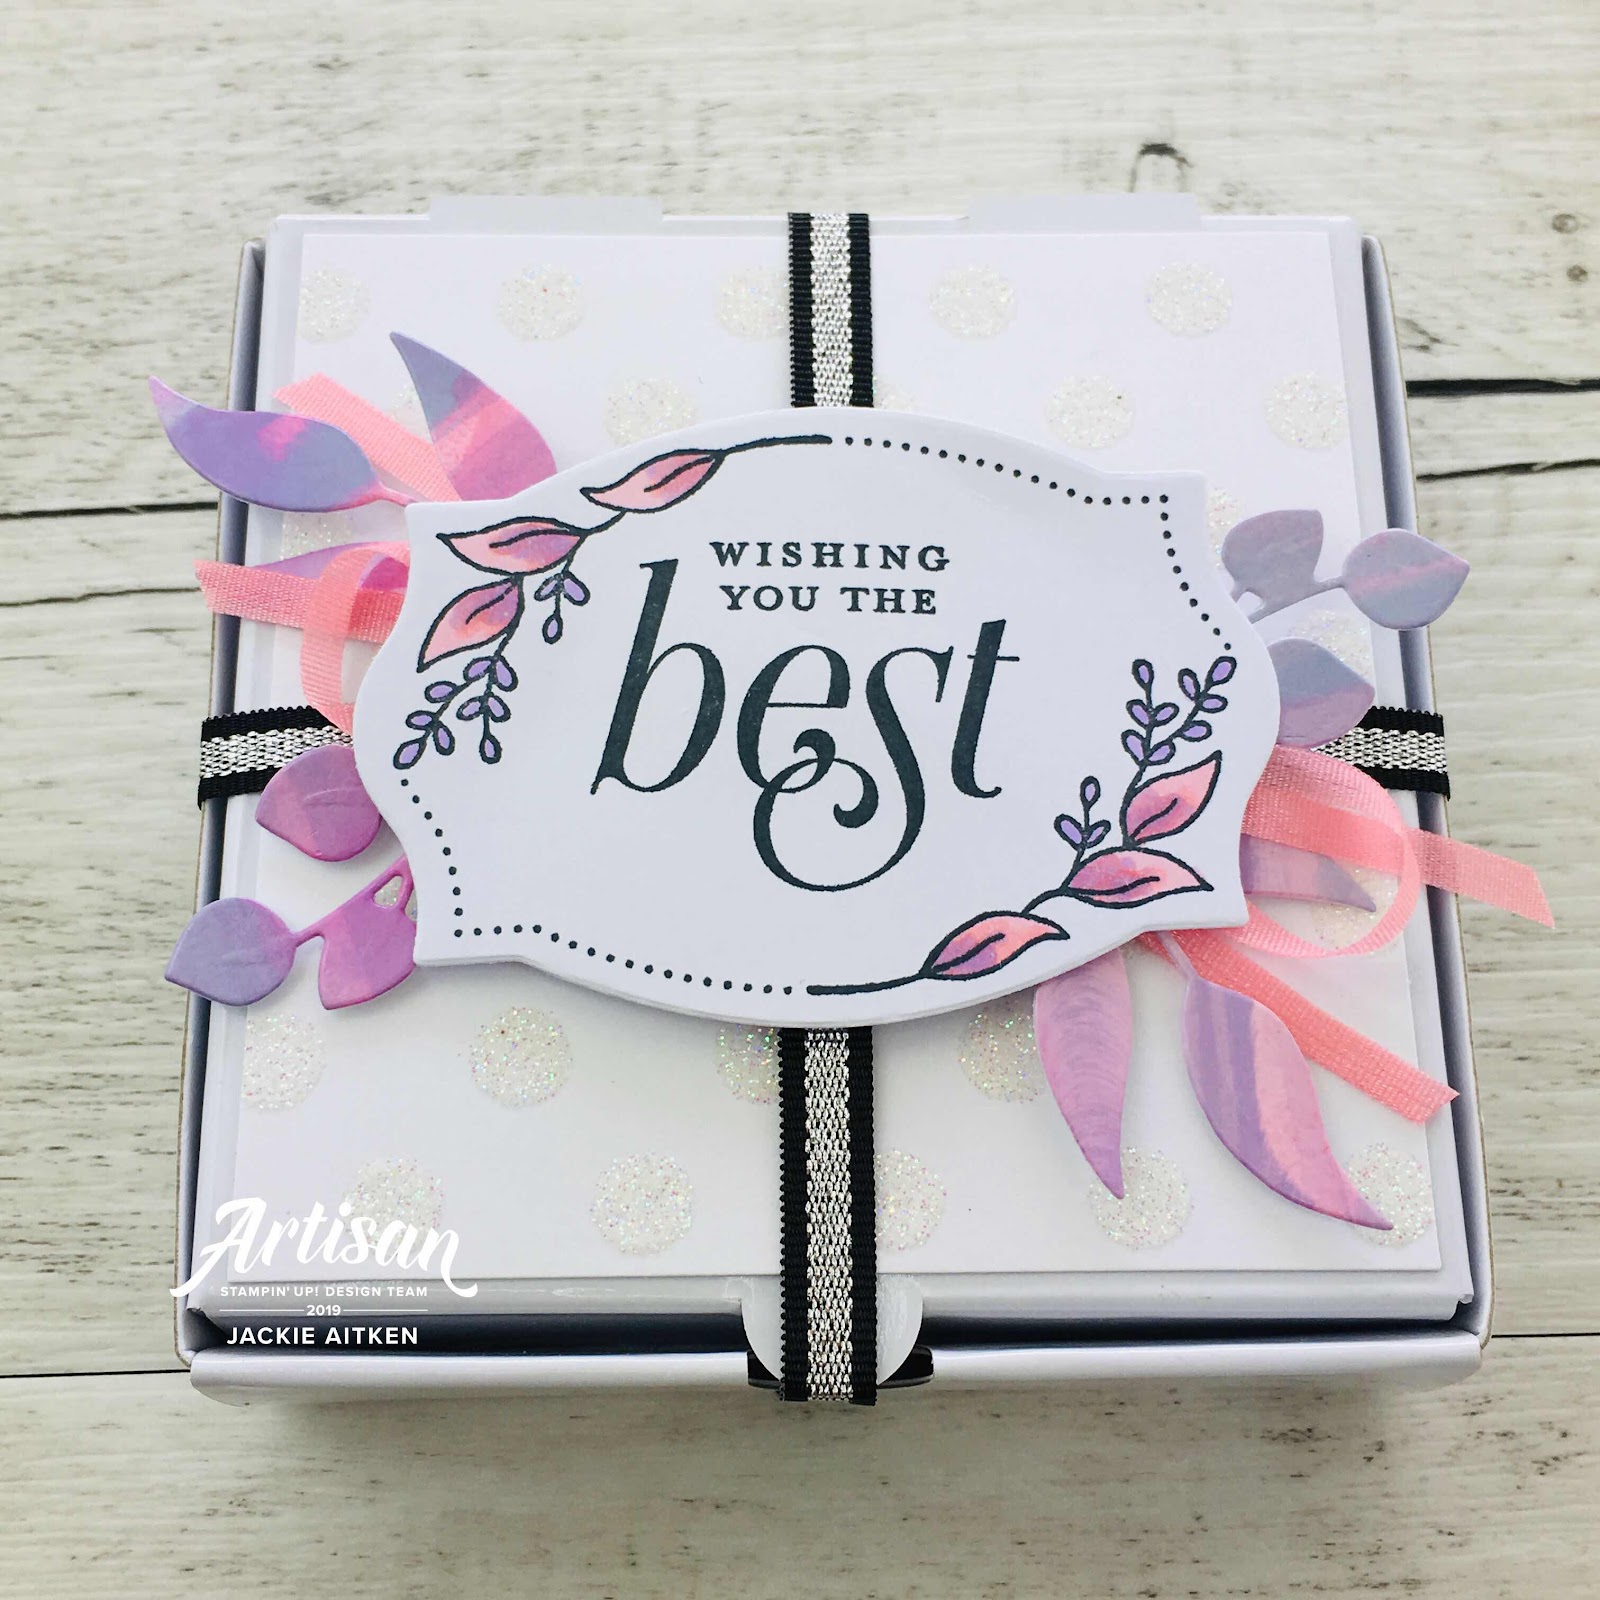
I just adore this little decorative die cut and had to use one for this simply decorated box. Again, using the purple-blue tones for the die cuts and flirty flamingo ribbon. The stamped frame was coloured with Stampin' Blends.

jaxxcraftycreations, handmade cards, Floral Frames, Glossy Card, Stampin' Up!, Embossing Paste, Stampin' Blends, Stamping Sunday Blog Hop, Stamping Techniques,

That's it from me today. I hope I have inspired you to get into your crafty space and show some of your favourite retiring or retired stamp sets some love by inking them up and making someone you love a handmade creation from the heart.

jaxxcraftycreations, handmade cards, Floral Frames, Glossy Card, Stampin' Up!, Embossing Paste, Stampin' Blends, Stamping Sunday Blog Hop, Stamping Techniques,

Thanks so much for stopping by today. Be sure to follow the Hop all the way through for loads of creative and inspirational projects that the Stamping Sunday Blog Hop Design Team have to share with you.


Blog Hop Participant List


You can find the items I used to create today's creations in my Online Store by clicking on the images in the Product List below. Happy Shopping x

Product List
Wednesday, 8 May 2019

Colour INKspiration #55

Good Day Crafty Friends,

Image may contain: text

Welcome to Colour INKspiration Challenge #55 Blog Hop. We have the most delightful colour combination for you to play along with this fortnight - Coastal Cabana, Flirty Flamingo, Lemon Lime Twist, Grapefruit Grove, Rich Razzleberry and Smoky Slate.  You can chose three or more colours for this challenge.

Image may contain: bedroom and indoor

I actually made three cards for this challenge as again, I did not read instructions properly lol. I did manage to pull a card together at the very last minute that incorporates five of the six challenge colours - omitting the grapefruit grove.

Perennial Essence and Daisy Lane stamp sets were used for the creation of this card, with the floral images stamped in Rich Razzleberry, Coastal Cabana and Flirty Flamingo. A whisper white card front has been embossed with the Brick stencil and then the fussy images were adhered in the centre of the embossing with mini dimensionals. The sentiment has been white heat embossed on Smoky Slate cardstock to tie in with the panel of cardstock behind.


Colour INKspiration Blog Challenge, Daisy Lane, Embossing Paste, Floral Cards, Perennial Essence,

The next card has incorporated three of the challenge colours - Flirty Flamingo, Lemon Lime Twist and Rich Razzleberry. The blue shaded flower is where I went wrong with this card. I was busy colouring away with watercolour pencils and didn't realise until I finished that I had actually used Bermuda Bay opposed to Coastal Cabana!!! This card was created with the Perennial Essence stamp set and coordinating punch. 

Colour INKspiration Blog Challenge, Daisy Lane, Embossing Paste, Floral Cards, Perennial Essence,

The final card has had the images stamped in White Craft Ink first and then once dry, a sponge dauber is used to apply colour to the stamp and the image is restamped directly over the top of the white ink. This produces a lovely subtle version of the original colour, and looks amazing on neutral toned card stock. The images for this card are from the limited edition Everything Is Rosy stamp set, with the happy birthday die cuts created from Coastal Cabana cardstock, layered over whisper white to produce a slight shadow.

Colour INKspiration Blog Challenge, Daisy Lane, Embossing Paste, Floral Cards, Perennial Essence,

 INKspired to join the challenge? It's so easy. Firstly, get some INKspiration by hopping around to see what all of the Colour INKspiration Crew have to show you. Then you have 12 days from today to make and upload your creation to the Facebook Colour INKspiration Group. You don't have to have a blog to participate but if you do you can link back to your post. Make sure you use all of the challenge colours. You can also use Whisper White, Very Vanilla and Basic Black as well as Metallic s. Not a member of the Facebook group yet? Just click here and ask to join Colour INKspiration, add the group to your favourites and share it with your crafty friends so they can join in the fun too. We can't wait to see what you create with these gorgeous colours.

Up next in the hop is super talented and extremely lovely, Elizabeth Gross.


Image may contain: text

Wednesday, 27 March 2019

Colour INKspiration #52

Good Day Crafty Friends

Welcome to Colour INKspiration Challenge #52 Blog Hop. If you are following the Hop, you may have arrived here having just visited Rose Packer with her super gorgeous creation. 

The Colour INKspiration Team have the most delightful colour combination for you to play along with this fortnight - Early Espresso, Whisper White, Granny Apple Green & Soft Sea Foam.

Image may contain: food

Writing this post as I look at this plate of delightful goodies has made me realise how hungry I am. I could demolish quite a sizable portion of that plate!! 

Now before I share, I must confess this is the second version of this card - the first got ruined when I dropped the opened Early Espresso ink pad onto the corner of the original project. It got thrown in the bin and thanks to the ever patient, Rose Packer, I was able to whip up a replacement in time to join the hop.


My card starts with a tent fold Whisper White card base. To this I have added a piece of Soft Sea Foam that has been embossed with the Subtle Embossing Folder and then cut down slightly before mounting to the base with fun foam.


The card front has had white embossing paste applied through the brick wall stencil and left to dry before adhering a rectangle, stitched frame - created by using two stitched framelits, one inside the other. I ripped the corners because that is what I tried to do to rectify the "ruined project" and quite liked the look of it, so replicated it here.

A piece of Early Espresso card has been die cut with the branch thinlit from the Seasonal Layers Thinlits. To this Granny Apple leaves were fussy cut and adhered with Tombow. A few Soft Sea Foam flowers created using the Lovely Flowers Edgelit Dies have been added with Pearl embellishments placed in the centre.

Here is my card featured with one of my Hand Made Cold Process Soaps. The recipient loves Sandalwood so she gets this delicious smelling creation to accompany her handmade card.

I am lucky last in this fortnights Colour INKspiration Blog Hop. INKspired to join the challenge? It's so easy. Firstly, get some INKspiration by hopping around to see what all of the Colour INKspiration Crew have to show you. Then you have 12 days from today to make and upload your creation to the Facebook Colour INKspiration Group. You don't have to have a blog to participate but if you do you can link back to your post. Make sure you use all of the challenge colours. You can also use Whisper White, Very Vanilla and Basic Black as well as Metallic s. Not a member of the Facebook group yet? Just click here and ask to join Colour INKspiration, add the group to your favourites and share it with your crafty friends so they can join in the fun too. We can't wait to see what you create with these gorgeous colours.

If you have missed any of the creative and inspirational idea's shared in today's hop, be sure to head back to the beginning and start with Lou Kitzelman by clicking on the next button below.


Image may contain: text

Thanks so much for stopping by today. The Design Team members appreciate the time you have invested to visit our blogs to view our creations. Feel free to share some love and leave us a comment.

Until next time, stay awesome and stay crafty

Thursday, 21 March 2019

Just Add Ink #449 - Add Colour

Good Day Crafty Friends,

Welcome to this week's Just Add Ink challenge. Jo has chosen a stunning colour combination for this week's theme - Lovely Lipstick, Gorgeous Grape and Bermuda Bay. 

Image may contain: text that says "Join the challenge! Just Add Ink just-add-ink.blogspot.com Lovely Gorgeous Bermuda Lipstick Grape Bay Colour Challenge #449"

I am a fan of all three colours individually but when it came to combining them I really struggled. My Lovely Lipstick ink pad was way too juicy for the stamps I originally chose to use for this challenge. After many binned attempts I decided to go with something completely different - lots of white space with dabs of colour.

I had some embossing paste left over from my recent Technique's workshop, and before it dried up on me like my last lot, I decided to emboss a heap of Whisper White card fronts. 

I have used the large Doily die cut from the Dear Doily Bundle to create a stencil for this card, spreading plain white embossing paste over the inner portion of the die cut. Once dry, I chopped the card front down and slipped in some striped Bermuda Bay DSP - lined with a strip of Gorgeous Grape before adhering to the card base.

A stitched die cut circle has been attached with foam strips over the embossing paste and then the floral cluster image from Climbing Roses and heat embossed sentiment added to the raised circle die cut with Tombow Multi Purpose Adhesive.


While I had things out on my desk, I grabbed another embossed card front and added the pieces that didn't make it onto the first card. The brick wall stencil was used to create this card front, to which, strips of Bermuda Bay and Gorgeous Grape DSP have been added. I just adore these paper packs and really need to get more in case they don't make the next Annual Catalogue.


A few Gorgeous Grape Glitter Enamel Dots have been added to finish off the card. I am on a Birthday Card making mission this year, so have stamped the inside with a Birthday sentiment making this card 88/200. I am close to my target of 100 before June. I just need to be sure to send some before I donate them all lol.

That's all for today, crafty friends. Be sure to stop by all the Just Add Ink Design Team members blogs for more inspiration using this weeks Just Add Ink embossing challenge theme.

We would love for you and your crafty friends to play along, if you have a blog you can add your creation to the Just Add Ink gallery here. Don't have your own blog? No problem! Just send us an email  to  just-add-ink@hotmail.com with a photo attachment. We will upload it to our challenge entry blog for you.

Thanks so much for stopping by today. Until next time stay awesome and stay crafty.


Tuesday, 20 March 2018

Magical Day Fairy Castle - AddINKtive Designs

Good Day Crafty Friends,

It’s time to share this month’s creation for the AddINKtive Designs Team. I am so excited about this fancy fold card as I absolutely adore it!  Bronwyn has been extremely busy creating loads of new tutorials, all fancy folds and some with multiple interactive components in the one card! 
The PDF tutorials have detailed step by step instructions with clear photographs. All cards in the Tutorial Shop are designed using Stampin' Up! products and fold flat for posting. Check out all the amazingly detailed fun fancy folds over at AddINKtive Designs here.

http://addinktivedesigns.com/shop/

I chose to use Bronwyn’s Castle Bridge Fold Card Tutorial to create this Fairy Castle themed version. Any excuse to use those chubby unicorns!! lol You can find the tutorial I used to create this fun, fancy fold here.

stampin up, magical day stamp set, fairy castle card, fancy fold, bridge fold card

To get the clouds and brick detail to really pop on such light coloured Card Stock, I sponged White Craft Ink onto the cloud and brick wall stencils and then applied White Embossing Powder and Heat Set. 

stampin up, magical day stamp set, fancy fold, fairy castle card, bridge fold card

I also added an extra tower in the middle of the fold. This was created using the smaller towers as a template and extending the shape.

I have used lots of White and Sweet Sugar Plum Glimmer Card Stock so the Castle sparkles and shines from all angles.

The Mermaids in the windows had their long locks chopped and then reattached closer to the window frame so that it looks like their hair is blowing out the window. 

All images were stamped in Memento Tuxedo Black Ink and Coloured using a mixture of the light coloured Stampin’ Blends.

I cannot wait to make a Dragon & Knight version of this amazing Fold. 
Until next time, stay crafty
http://addinktivedesigns.com/shop/